So, you want to sail ..upwind?
Greetings Kayak Sailing enthusiasts! Before to start the steps about the building of the rudder & Leeboards, we would like to thank you all of our viewers and friends of Snacks In The Backpack that followed our adventures on the quest to sail our Inflatable Sailing Kayak!.
It’s been over a year since our first VIDEO. We’ve learned a lot along the journey of engineering this kit.
I believe that it hasn’t been easy for any of us going through such tough times, but we could still make use of this ‘spare time’ indoors preparing for our next outdoor adventure!
Look out that window of yours, once all of this messy pandemic has blown over, we will …go for an adventure!
Comments from Viewers and Enthusiasts
We’ve receive lots of valuable comments from viewers that wished to learn about how did we build this kit (from scratch). It is not very hard to build one. Get the materials, spare time and determination to build it!
Honestly speaking, there’s no such thing as a ‘correct way’ to build one. This is what inflatable kayak sailing is all about; bring your ideas to the drawing board, build the kit, try it out. If you fail, do a post-mortem and correct the flaws. If you sail, improve. It’s a bottom-less hobby! And it doesn’t cost you an arm-and-a-leg.
Intriguing
I actually enjoy bringing out our Inflatable Kayak Sailing Kit out to the beach. It is the reaction we get from the public, the passer-bys and the family-man that watches in awe of our capabilities of building such a piece of engineering!
We’ve also encountered a family of sailors that ‘interviewed’ us about our inflatable sailing kit during our filming of Episode 4 : Upwind Runs in Summer 2020. They actually owned a proper sailboat.
The gentleman said our build was intriguing, so I went on explaining how the components work. I couldn’t stop smiling as I was overwhelmed by such curiousity to such wacky hobby.
Give it a go, guys. Even if you (most unlikely) fail, it’ll be a sweet memory to remember that you did it!
Choosing Your Materials
Some people might encounter analysis-paralysis when it comes to choosing what materials to use for the rudder and leeboards.
Boards
Make things easy for yourself, start off with wood or plywood. Wood is easy to find, cheap, easy to shape and pretty much lightweight for your first build. If you made a mistake cutting or shaping it, go on get a new piece.
If you’ve advanced into the next level, when you’ve sailed your kayak for at least a couple hours without losing “sail force”, go on build replacement rudder/leeboards that are more durable using epoxy resin or fibre-glass coated wood.
Your plywood should be at least 7mm to 10mm thick. Any thicker, it’ll be too heavy for the build. It’ll still function, but that’s a lot of wood to plane/trim off! Marine plywood is also great for this application as it’ll last longer in water.
Coatings
If you’re using a bare plywood to be dipped in water, eventually, the layers will start to peel off. Its going to look both ugly and perform badly as the rough surface generates a lot of ‘resistance’.
There are a many ways of coating your boards :
Wax (Candle)
Pros : Cheap, keeps water/moisture out, easy to apply (with a heatgun/hairdryer)
Cons : Ugly, sticky in warm weather, needs recoating if scratched
Varnish (Paint)
Pros : Cheap, keeps water/moisture out, pretty (looks rustic?), easy to apply
Cons : Needs many coats
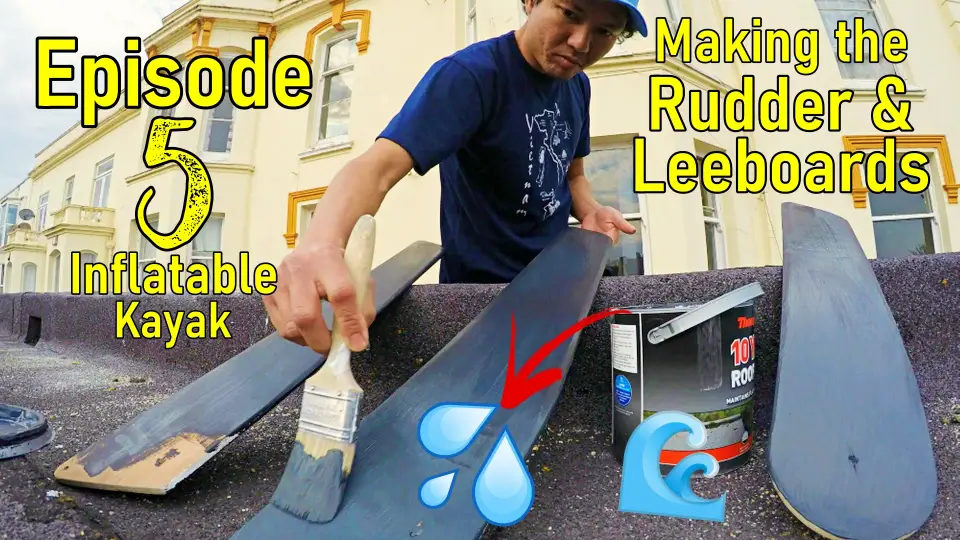
Bituminous/Rubber (Paint) – used on Episode 5
Pros : Cheap, keeps water/moisture out, looks heavy-duty, easy to apply
Cons : Easily scratched on pebbles/stones
Fibreglass Epoxy (Resin)
Pros : Looks professional, heavy-duty, durable hard wearing
Cons : Might be costly, Hard to apply (need space/skill)
Also Wood Fillers?
So, you do the math on how long do you want yours to last?
Tools
I’ve worked on my build mostly with manual hand-tools and it still came out -okay. If you, don’t have power tools, worry not, you can use whatever you already have or borrow from your friends.
These are some tools that I’ve used for the kit :
Long Metal Ruler
Pencil or Pen
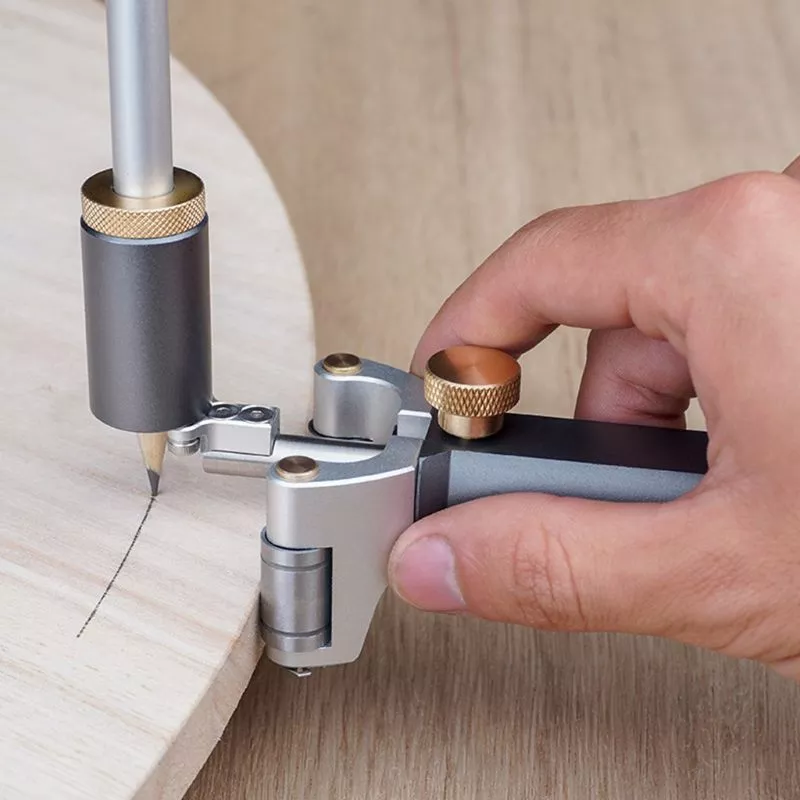
Drawing Compass (for drawing curves or rounded edges)
Wood Saw
Jig Saw
Wood Planer
Sandpaper + Sanding Block (Optional)
Putty Knife or Scraper (for the fillers)
Paint brush
Hair Dryer or Heat Gun (for melting wax or quick drying the fillers)
Cordless/Electric or Hand-Crank Drill (for drilling holes for mounts)
How to cook it?
Now, you that have everything lined up, now what?
Step 1 : Design your Rudder and Leeboard.
Start here as you’ll need to determine the shape, size ratio and how to mount the boards.
If you’re familiar with Microsoft Paint, you could use OpenOffice Draw. Its FREE to download and use, no license needed. Click HERE to go to OpenOffice.org . It was the same software as seen in Episode 2 : Improvements.
If you can’t think of a design on the top of your head, Google : Rudder board or Leeboard or Daggerboard or Center Board.
Updated :
Thank you Jürgen for your question on our YouTube video.
Here are some design sample that we’ve made for the kayak that worked. The Leeboard shape had been scaled from a Tiwal 2 Daggerboard to match the same effective area for a single daggerboard on a Laser Pico since it has almost the same vessel length of an Itiwit 2.
In theory, they should be calculated based on the sail-size vs. vessel-length. But, I skipped that bit (to save time) and scaled the effective leeboard area at water level (for 2 leeboards) to compare to a Laser Pico’s – Daggerboard effective area.
I also found out (after a few versions made & tested) that a narrow-longer board works better when sailing at speeds greater than 6-8knots.
And, wider-shorter design (like the one shown below) works better in weaker winds or cruising or you’re just learning to sail. Consider that, Bigger area = bigger drag …more flow resistance, but have better control.
The shape may have some or little effect to our level of sailing. For a project I’m working on at the moment, I went with square-shaped leeboards, but finished a good smooth foil profile & gloss acrylic paint (for flow & waterproofing).
I think, make something that’s easy for you to source & produce. Fine tune it later as you go.

Step 2 : Transfer your designs
Now, use the drawings you’ve made on OpenOffice Draw, scale them by your ruler. If you’ve never done scaling before, click HERE for a quick tutorial.
Begin drawing your rudder or leeboards from the straight line side first and work your way through.
Step 3 : Cutting The Designs
When cutting out your designs from the board, try using a decently sharp saw, because you’ll want it to be a clean and accurate cut. Don’t rush cutting the patterns out, take your time.
Use the jigsaw to cut into corners and rounds.
Step 4 : Planing the profiles
After cutting the square edged shapes, scribe an imaginary line on the edges of the boards.
Some may prefer using a scribing tool to draw this line, but I just used my thumb as a guide to sketch it.
Use the wood planer to trim the edges at an angle. Start with cutting with less angle on the planer’s blade and gradually adjust the cutting angle.
If you’re to steep, the plywood will start to chip, dial it back a touch and continue planing.

Step 5 : Fixing the rough edges
Once you’ve finished planing the edges, if there are chips and dips (ohh that sounds yummy!), don’t be shy to use fillers to fill the gaps.
Some fillers may come in a pre-mixed tub and some might come powdered. I prefer powdered as I could adjust the wetness by adding less or more water. Apply fillers and allow to cure over night.
Sand off the excess with a sandpaper backed with a sanding block. Wear a mask if necessary and sand in a well ventilated area.
Step 6 : Drilling
Now, drill your board mounting holes cleanly. If you’re worried about chipping the board, stick on a masking tape and drill on the tape, remove the tape carefully.
Step 7 : Coating
Finally, coat your boards with your preferred finishing. Cure your finishing overnight, just to be sure, unless if you’ve only waxed the boards.
Voila! Go on try it out on the water and let me know if it works!