Sail-making for your Kayak Sail Kit
Greetings Kayak Sailing enthusiasts! We would like to thank you all of our viewers and friends of Snacks In The Backpack that followed our adventures on the quest to sail our Inflatable Sailing Kayak! Finally, we are on the episode to make our homemade sail!
We understand that it hasn’t been easy for any of us going through such tough times with travel restrictions enforced world wide, but we could use it as an excuse to start a new hobby like Kayak Sailing!
A BIG Thank You to all of our Viewers, Readers & Followers!
We’ve receive lots of valuable comments from viewers that wished to learn about how did we build this kit (from scratch). It is not very hard to build one.
Source the materials online from Amazon or eBay or even Poundland (or DollarTree), some spare time and determination to build it!
Honestly speaking, there’s no such thing as a ‘correct way’ to build one. This is what inflatable kayak sailing is all about; bring your ideas to the drawing board, build the kit, try it out.
If you fail, do a post-mortem and correct the flaws. If you sail, improve. It’s a bottom-less hobby! And it won’t cost you an arm-and-a-leg.
No One Sells These Type of Sails!
When we began sailing our Inflatable Kayak, our main concern was the sail. We couldn’t find a purpose-made sail for a kayak this size. No one sells these! Well… there are some, but they are made for solid body kayaks that requires drilling, fitting mounts & brackets -try drilling an inflatable and you’ll see what I mean, haha.
So, no one actually sells something that matches the inflatable kayak’s length, weight, mast or boom size/style. So, we decided to make one, from household materials.
Here’s our milestones with our research on what works on an Itiwit 2 : Inflatable Sailing Kayak.
It all started with Version 1 :
Materials : Grandma’s (not mine) jacket, RipStop fabric offcuts (from another home project)
Pros : Cheap, simple design, lightweight.
Cons : Sails only downwind, can’t go upwind. Without a Boom, it’s impossible to control the craft. The leeboards and rudder design used in this version was very primitive, made it worse!
Version 2 :

Materials : Ripstop fabric from Version 1, Sail Batten from plastic electric trunking
Pros : Cheap, lightweight, durable, the Boom had improved maneuverability, new leeboard/rudder system improved craft-control.
Cons : Too small (underpowered), probably need 8-10knot winds to get to 5-6knots of sail speed, sail ‘twists’ a lot (probably from the ‘soft’ batten)
Version 3 :

Materials : Bought the whole lot off the local Recycle Centre for £5, mast from Version 1 (carbon fishing pole)
Pros : Lightweight materials, ready-made by SeaEagle
Cons : Sail area was overpowering for the craft, the boom/mast (Lateen sail) system wasn’t my favourite as it throws the whole craft off balance.
Version 4 :

Materials : Cut out from Version 3
Pros : Sails a lot better than any previous versions, stiffer batten from a fibreglass fishing rod.
Cons : But I wasn’t happy how the batten-style sail works, it was just too much twist = wasted power.
Version 5 :

Materials : Off-cuts from Version 3 & 4.
Pros : The best performance sail setup so far, good speed and great upwind sailing.
Cons : But the performance wasn’t optimum as the sail cut-angle wasn’t meant for this setup. As you can see, lots of luffing and crumpled sail areas.
Version 6 :

Materials : Transparent plastic (used for umbrellas)
Pros : 2.0 square meters of sail area provides good power to properly sail in any winds up to 10 knot winds (tested so far), new mast support ‘sling’ (blue) improved craft control, walking stick made it a lot easier to maneuver.
Cons : Plastic material was a little brittle in winds over 7 knots, sail luffing in the wind sounded very loud (Episode 8 video), the sail broke after sailing out on a 12 knot wind.
Version 7 :
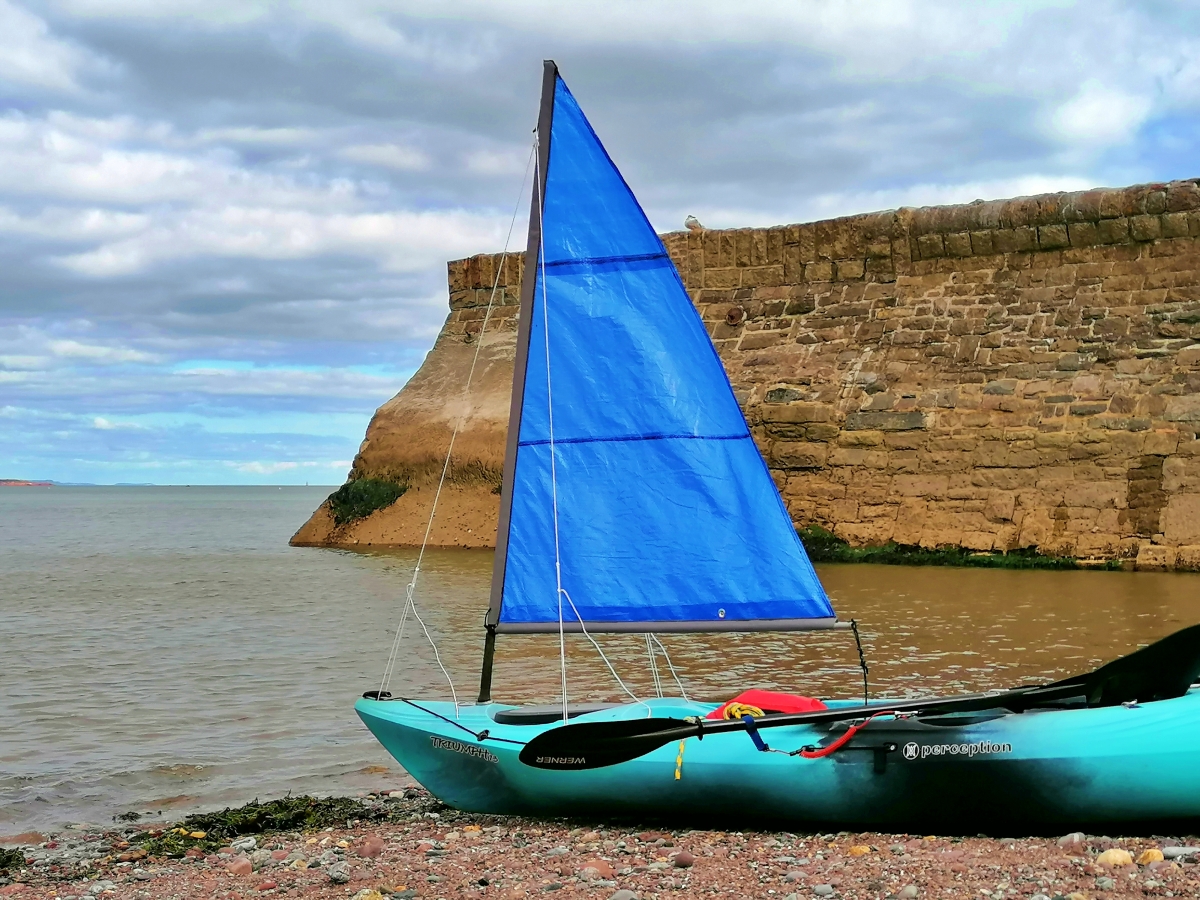
Now, we are here as seen on Inflatable Sailing Kayak – Episode 9 : Making a £1 $1 Poundland Sail Step-by-Step
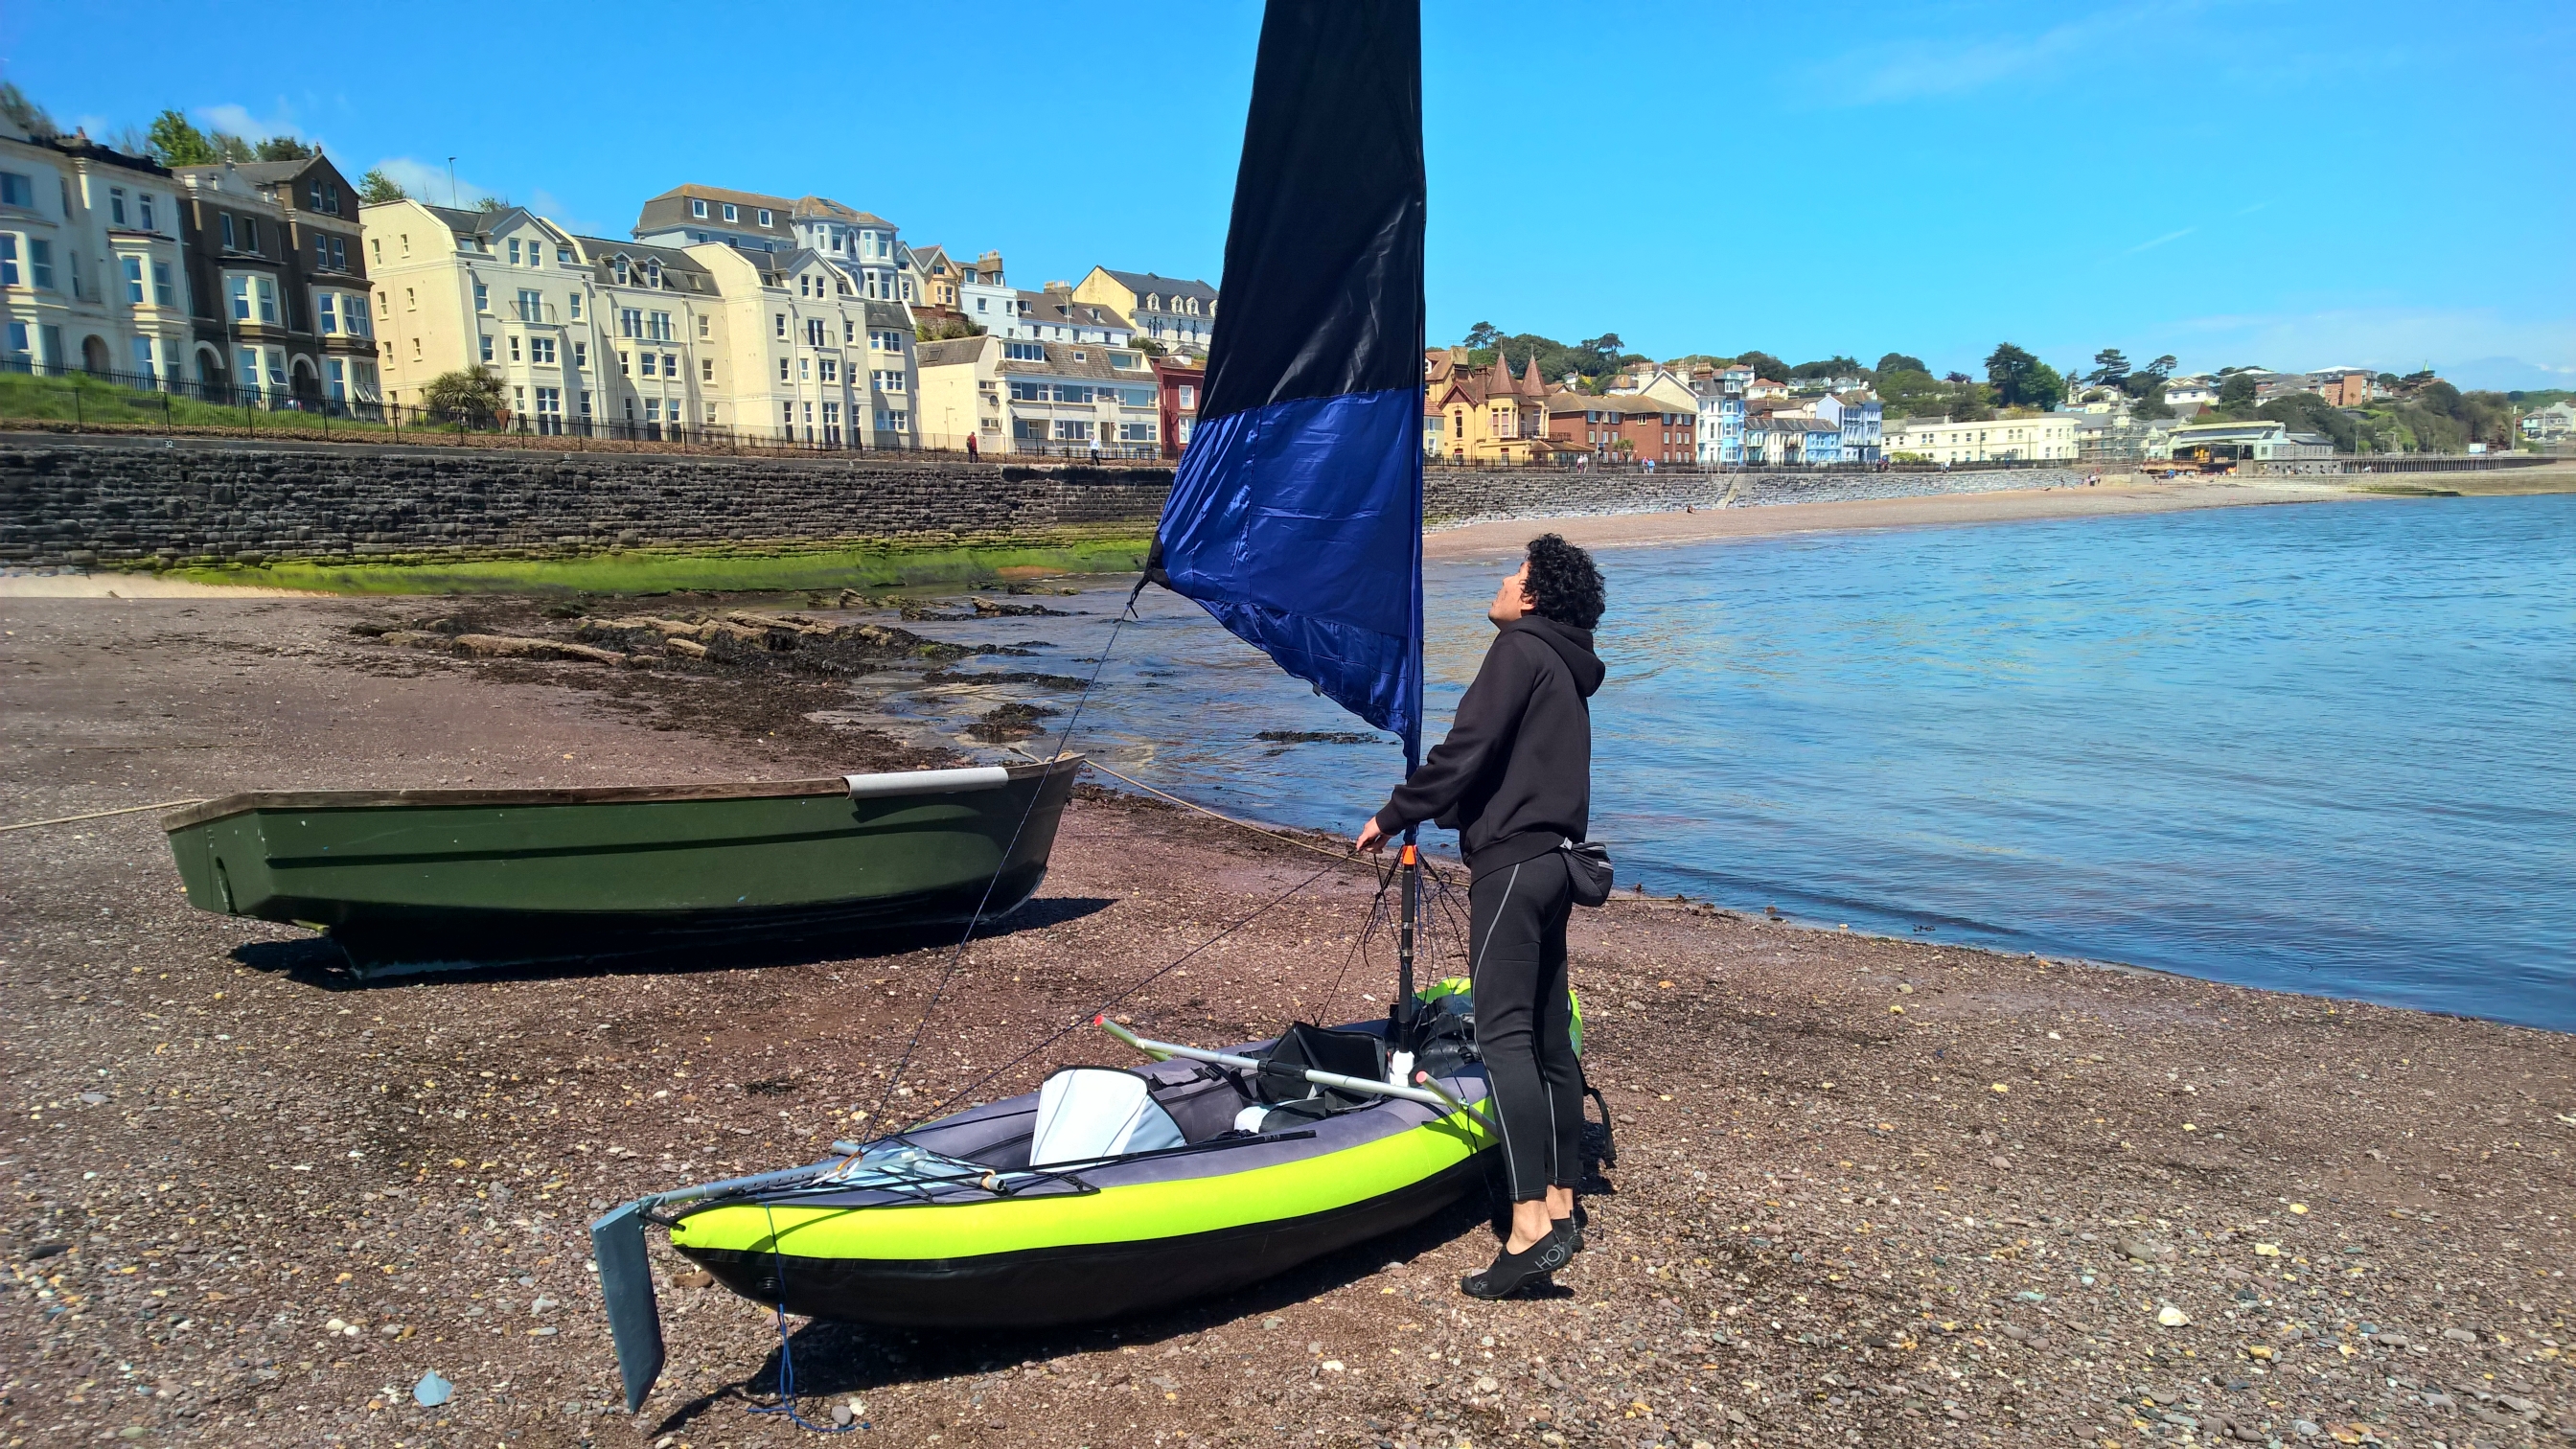
This is a prototype version for Captain Tom (our sailing buddy) for his solid kayak as he wanted one to try out. He loved it, but I need to make some more custom parts to make him sail upwind.

Here’s what you’ll need for the project :
Sail Materials
Tarpaulin (from Poundland/DollarTree/Your local $1 store/Hardware store) – See drawings below for size.
Luff (Mast Sleeve) & Foot (Boom Sleeve) Fabric – Could be any tough fabric, even shower curtains! why not?
Thread -anything you have. Get nylon thread if you fancy to go fancy-pantsy.
Double Sided Tape (10mm wide) – 1 roll is plenty.
Tools
Measuring Tape
Long wood strip (as a long ruler & curve-tool)
Permanent Marker Pen
Sewing Needle
Sewing Machine (optional – if you have this, it’ll be quicker to stitch the sail)
Nylon builders string or any strong string (at least 2-3mm thick) for outline marking
Wood Nails or Masking Tape (for marking the sail’s cut out)
Scissors

This version is good enough to sail in 5-7 knot winds with little to no waves for the Itiwit 2 Inflatable Kayak. If you prefer more ‘sailing power’, consider making a sail 1.5x-2x bigger area than this one to get decent sailing experience.
Version 8 :
This is coming soon. There’ll be no videos on this as the process takes ages to complete for a sail this size. I’ll try post some pictures taken in the making -probably a stop-motion video?
We’ll make this sail similar to Version 6 by shape and area, but we’ll be using more durable materials from RipStop nylon fabric to 600D tough canvas material for the luff and foot.

The image above shows some of the components of the sail that you should know before designing or making your own sail.
What Materials to Use?
If this is your first time making a sail, you would probably go head-scratching for a while before you could make up your mind on what materials to use.
Save the hassle and copy what I’ve used for Version 7. If it works for you, go on make a Version 7.1 off my design.
Tools
I’ve worked on my build mostly with manual hand-tools and it still came out -okay. If you, don’t have a sewing machine worry not, you can use whatever you already have or borrow from your friends.
These are some tools that I’ve used before to make a sail :
Long Metal Ruler / Measuring Tape
Long wood strip (as a long ruler)
Pencil or Pen
Thread (Nylon or anything regular)
Sewing Needle
Sewing Machine (optional – if you have this, it’ll be a little quicker to sew the sail)
Double sided tape (10mm wide)
Clothes iron
Nylon builders string or any strong string (at least 2-3mm thick)
Wood Nails or Masking Tape (for marking the sail’s cut out)